Rubber fenders are important buffering devices for protecting the hull and the shore during docks, ports and the berthing of ships. It can effectively absorb the impact energy when ships berth, reducing the damage caused by direct collisions. If the installation method is incorrect, the buffering performance of the fender will be greatly reduced, and it may even cause the fender to loosen or fall off. To assist terminal managers, shipowners or construction parties in better grasping the key points of installation, this article will provide a detailed explanation on how to install rubber fenders from preparation, construction to later maintenance, and offer practical installation steps and maintenance suggestions for rubber fenders.
Preparations Before Installation
Before installing rubber fenders, thorough preparatory work can significantly enhance construction efficiency and prevent rework.
1. Select the appropriate fender model
Different types of fenders are required for different docks and different ship types. Common models include:
- D-type rubber fenders: Suitable for small docks or light vessels
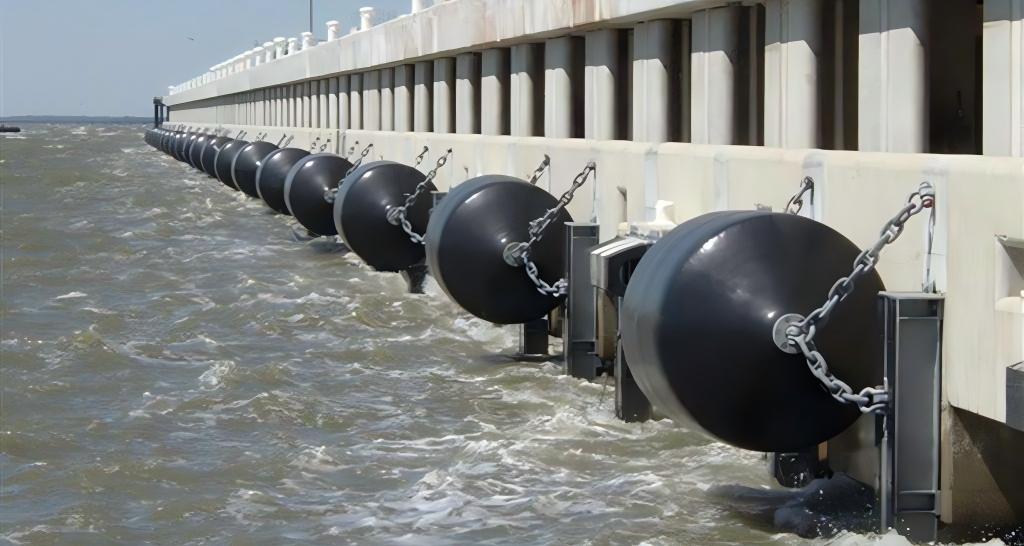
- V-shaped rubber fenders: Suitable for medium and large-sized ships, they have a stronger energy absorption capacity
- Arched fenders: Suitable for ports that require extensive protection
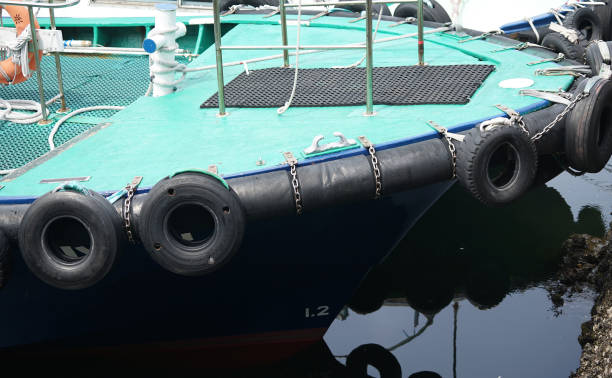
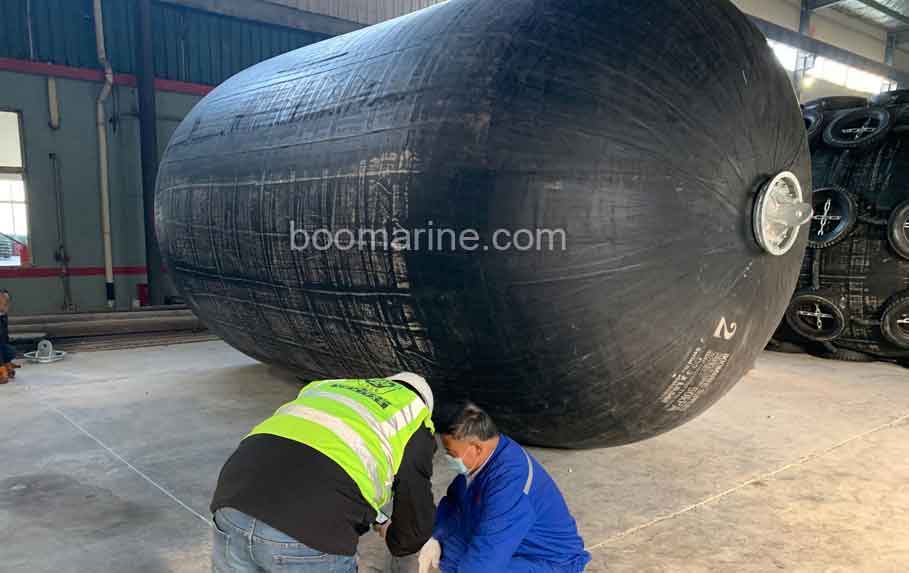
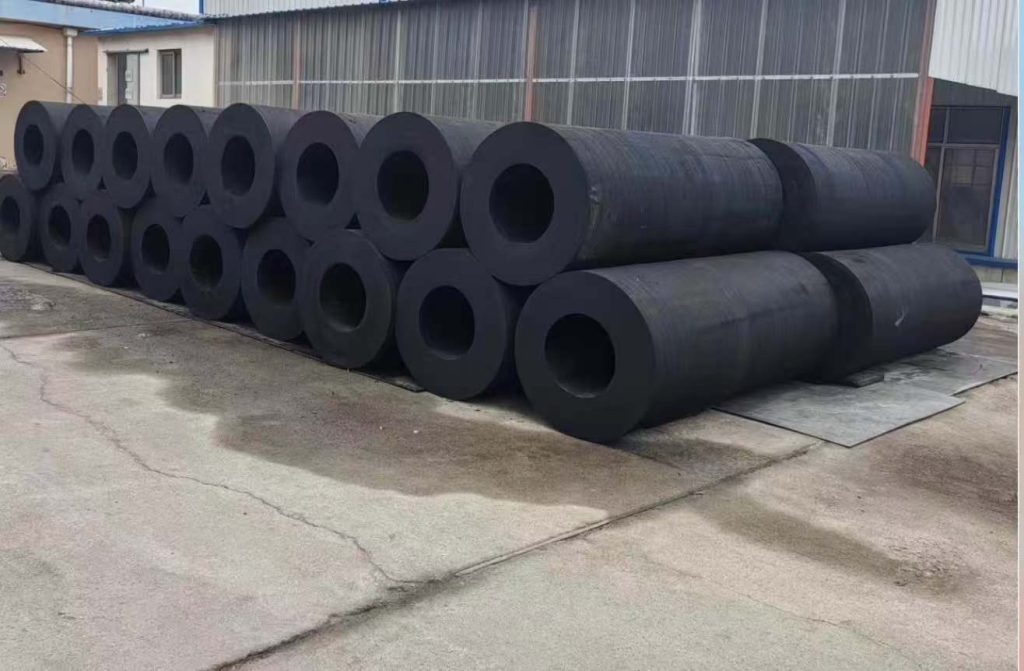
- Cylindrical fenders: Commonly used in fishing ports and dry docks, they are flexible to install
When choosing a model, the tonnage of the vessel, the frequency of berthing, the installation environment and the budget should be taken into consideration. Only when the model is selected appropriately can it play its due buffering role in the later stage.
2. Check the installation position
Before construction, a comprehensive inspection of the installation area of the wharf or the hull should be carried out:
- Whether the surface is smooth and whether there are any cracks or peeling
- Whether there is rust or Marine organisms attached, it needs to be cleaned up in advance
- Check the design drawings to ensure that the hole positions and fender dimensions match
3. Prepare construction tools and materials
Commonly used installation tools include electric drills, wrenches, welding machines, levels, tape measures, as well as fasteners such as bolts, expansion screws, and chemical anchor bolts. Thorough preparation can prevent construction interruptions and improve installation efficiency.
4. Implement construction safety measures
Warning lines should be set up at the construction site and prominent warning signs should be placed to ensure that non-construction personnel do not mistakenly enter. Construction workers must wear safety helmets, protective gloves, and protective shoes, among other necessary equipment. If necessary, they should wear goggles to avoid injuries caused by sparks or debris during construction.
4 Steps For Installing Rubber Fenders
After the preparatory work is completed, the core installation stage begins. The installation methods for different types of rubber fenders (fixed and floating) vary. The following is a clear step-by-step explanation. By following, you can make fewer mistakes.
Step 1: Positioning and layout
This step is the foundation. If the position is not determined accurately, no matter how firmly it is installed later, it will be of no use. First, draw reference lines on the installation surface according to the design drawings – for instance, mark the upper and lower edge lines of the fender on the quay wall with a marker pen, and then determine the center points to ensure that the center points of each fender are on the same straight line. After drawing the lines, be sure to lean a level against the reference line to check if it is level or vertical. For instance, the deviation in the vertical direction must not exceed 1 millimeter per meter; otherwise, the fender will be installed askew. Later, when the ship docked, it always rubbed against the edge of the fender. Within less than three months, the fender was worn out. Eventually, it had to be dismantled and reinstalled, which was a waste of time and materials.

Step 2: Basic processing
If the foundation is not properly treated, the fenders are prone to loosening. If it is a concrete foundation, first check the strength – tap it with a small hammer and listen if the sound is clear. If the sound is muffled, it may be that the concrete strength is insufficient and needs to be reinforced again. If there are small cracks, fill them with repair mortar and wait for the mortar to dry completely before continuing the construction. If it is a steel structure foundation, first use sandpaper to remove the rust on the surface to expose the original color of the metal, then apply a layer of anti-rust paint. Wait until the paint is completely dry before installing the fender. Otherwise, rust on the steel in the later stage will affect the fixation effect.
Step 3: Secure the fender
Here, it is discussed in two cases. The fixing methods of fixed and floating fenders are different.
Let’s start with fixed fenders, such as drum-shaped and square-shaped fenders. When installing, first attach the fender to the foundation, align it with the previously drawn reference line, and then pass the bolts through the installation holes of the fender and the reserved holes on the foundation. There is a trick to tightening bolts: tighten them diagonally. For example, if there are four bolts, first tighten the upper left corner, then the lower right corner, followed by the upper right corner, and finally the lower left corner. Don’t tighten one bolt completely at first, otherwise the fender will be unevenly stressed and deform. The tightening force (torque value) of the bolts should be referred to the product manual. Generally, for small-sized fenders (within 1 meter in length), tightening to 20-30 N · m is sufficient. For large-sized fenders (over 2 meters in length), it may be necessary to tighten to over 50 N · m. In simple terms, it should be tightened to the extent that the fender cannot be shaken by hand and the bolts will not break.

Fixed rubber fender side effect
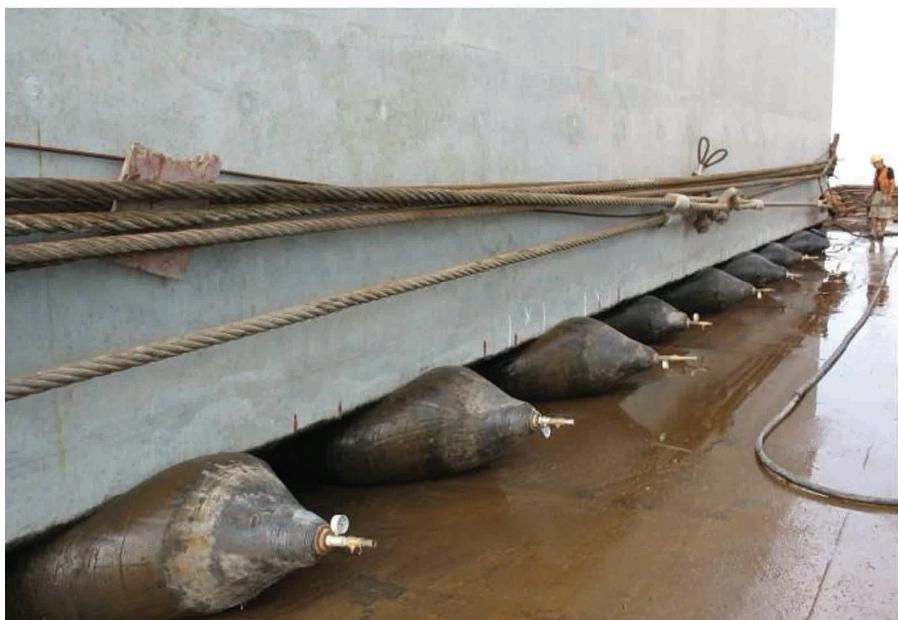
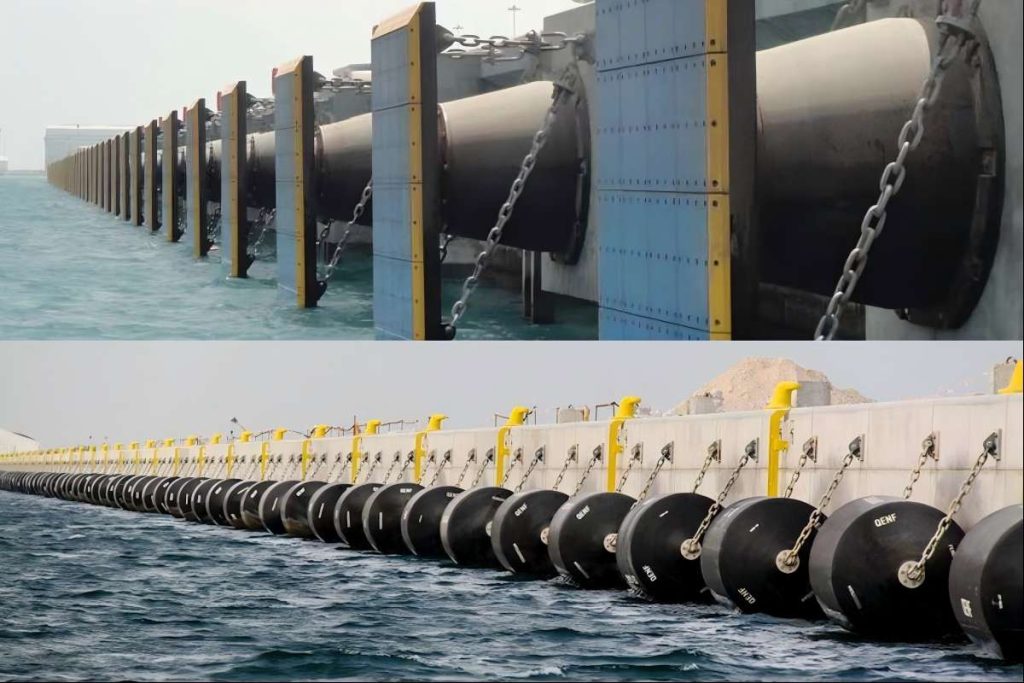
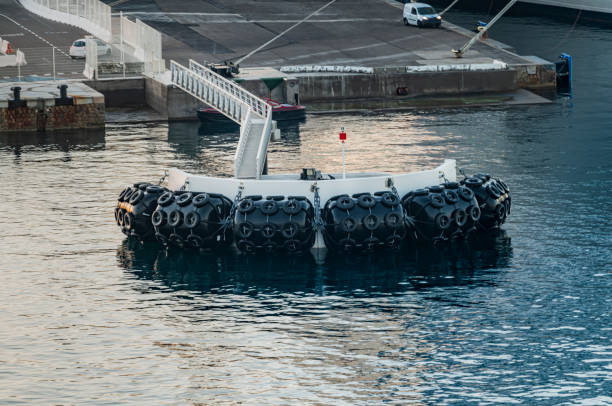
Let’s talk about floating fenders, such as inflatable and solid floating fenders. This type of fender requires the installation of supports first: The supports should be fixed at the designated positions on the wharf or ship, using expansion bolts or welding. If welding is used, it is necessary to ensure that the weld points are firm. After welding, check for any false welds. After the support is installed, put the floating fender over the support and fix it with clips or steel wire ropes. The clips should be fastened tightly and the tightness of the steel wire rope should be appropriate – if it is too loose, the fender will shake; if it is too tight, it will squeeze the fender, affecting its service life.
After fixation, sealing treatment is also required: Apply a circle of sealant at the gap where the fender meets the foundation. When applying the sealant, it should be even. Do not miss or apply it too thickly, as excessive thickness is prone to cracking. After the sealant is applied, wait for it to cure (which usually takes 24 hours) before proceeding to the next step.
Step 4: Connection and Debugging

If multiple fenders need to be spliced together (for example, if the wharf is relatively long and a single fender section is not sufficient), the splicing points must be aligned without any misalignment. Then, they should be fixed with special connecting pieces, and the bolts of the connecting pieces should also be tightened. After the assembly is completed, the Angle and height of the fender need to be adjusted: for example, for fixed fenders, use a level to check if they are vertical. For floating fenders, it is necessary to check whether their height on the water surface meets the design requirements. If it is too high or too low, it will affect the protective effect.
Finally, a simple simulated collision test can be conducted: gently tap the fender with a small cart to check if the fender shakes and if the bolts are loose. If there are no abnormalities, it indicates that the installation is correct. If there is any shaking, recheck whether the bolts are tightened and whether the support is firm.
Rubber Fender Maintenance: Don’t Forget The Later Maintenance
Proper installation is just the beginning. To keep the rubber fenders in the best condition for a long time, regular maintenance is indispensable.
1. Regular inspection
Conduct a comprehensive inspection every three to six months, mainly checking whether the bolts are loose, whether there are cracks in the welds, and whether the fenders are obviously worn or aged.
2. Clean the surface
The attachments in seawater will accelerate the aging of fenders. Shellfish, algae and sediment should be regularly removed to keep the surface clean.
3. Replace in a timely manner
Once cracks, detachment or a significant decline in buffering performance are found on the fender, it should be replaced in time to prevent accidents when the vessel is berthed.

Frequently Asked Questions
Q: Is it necessary to reserve a gap when installing rubber fenders?
A: Yes. The fender may slightly expand or contract due to temperature changes. Reserving an appropriate gap can prevent deformation caused by compression after installation.
Q: Which is more secure, bolt installation or welding?
A: Welding is more secure, but the construction difficulty and cost are higher. Bolt fixation is more convenient for disassembly and replacement in the later stage.
Q: How long can rubber fenders be used?
Under normal circumstances, its service life can reach over 10 years, but the prerequisite is that it is installed properly and maintained regularly.
Summary
In fact, the installation of rubber fenders is not complicated. The key lies in making good preparations, precise positioning, and firm fixation. It is also important to pay attention to inspection and maintenance after installation. Often, fenders break down after a short period of use, not due to quality issues but because the installation process was not done well – for instance, the bolts were not tightened properly or the sealant was missed. These small details can affect the service life and protective effect of the fender.
When choosing fenders, it is also necessary to pay attention to matching the installation scenario. For example, drum-shaped fenders are used for docks, and square-shaped fenders are used for small boats. Only by choosing the right fender and installing it correctly can the docks and ships be truly protected, allowing the rubber fender, this “protective guard”, to play its maximum role.