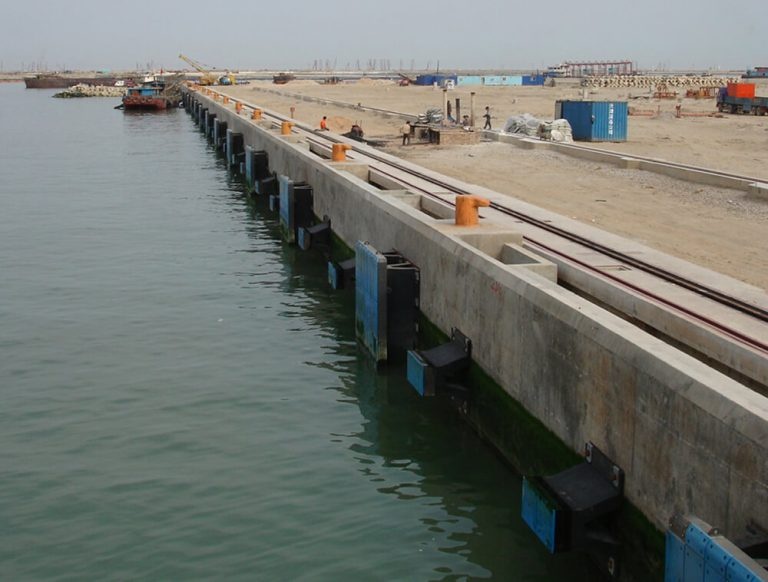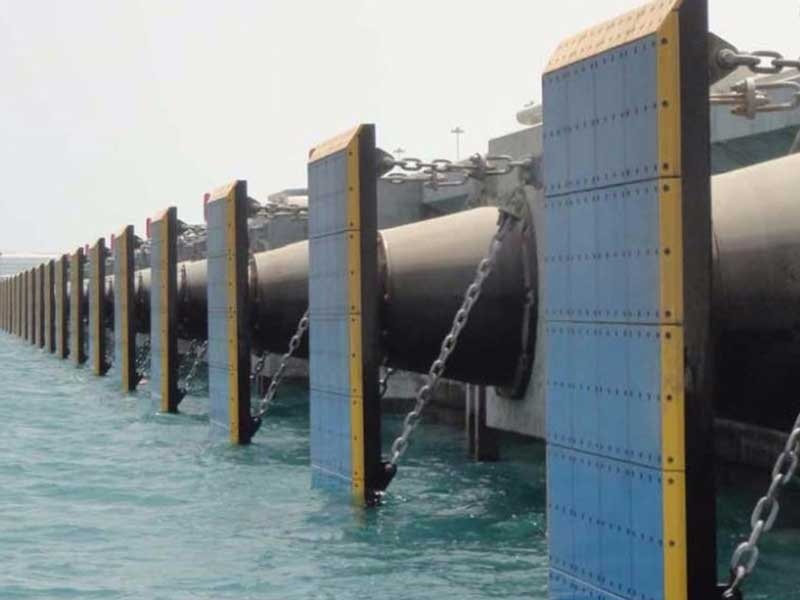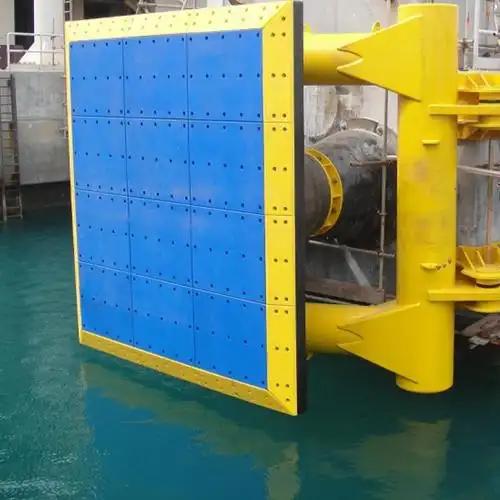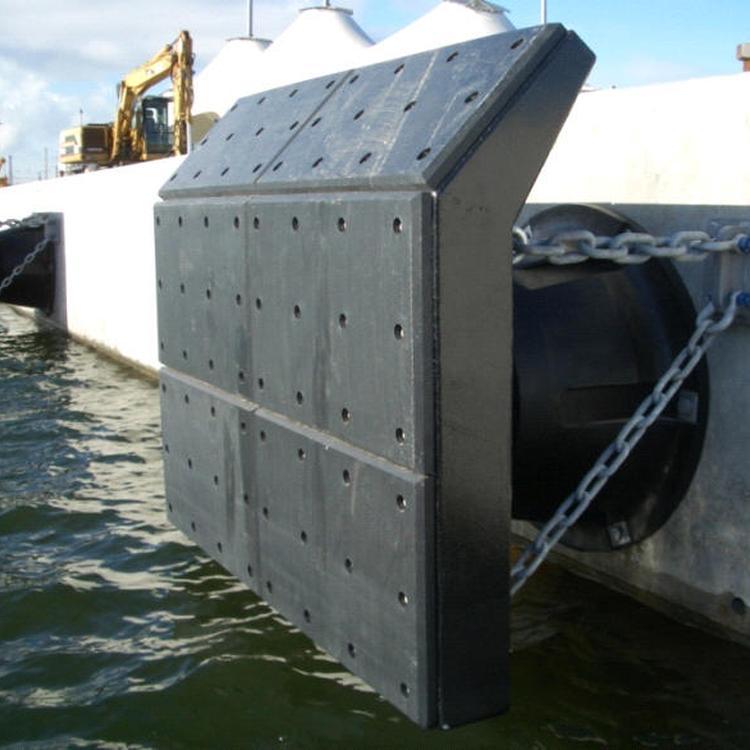
When a vessel comes alongside a berth, the contact zone between ship and structure gets a lot of punishment over time. A good maritime fender system handles the impact well, and the UHMW-PE fender pad attached to the front face of the fender panel performs a silent but crucial function in protecting both sides. Getting the installation right is more important than most people realize.
This article covers the common fixing methods for UHMW-PE marine fender pads, the design factors worth thinking through before installation, and a practical step-by-step guide to help with the process.
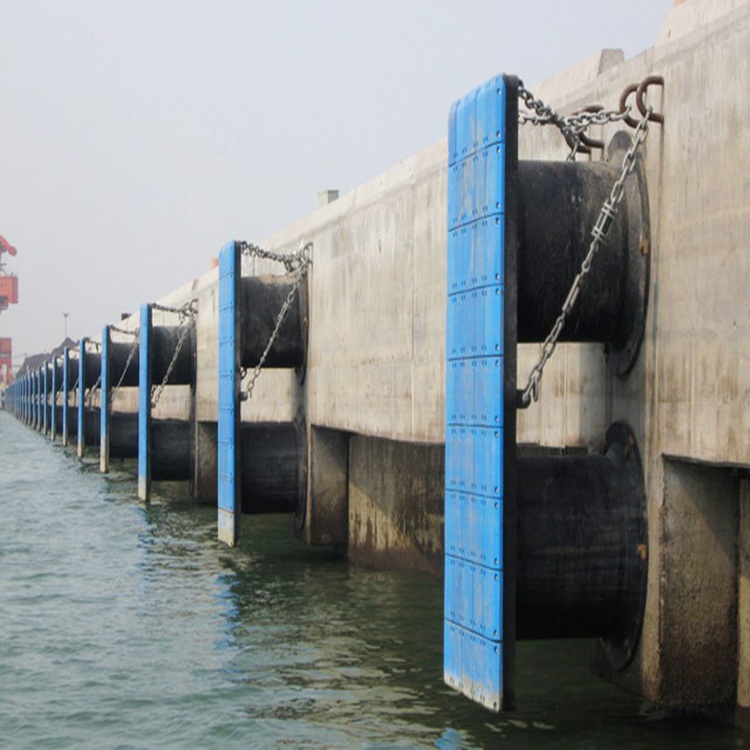
How Do UHMW-PE Fender Pads Work with Marine Fenders
Before we go into fittings and installation, it helps to understand where the UHMW-PE sheet fits in the wider fender system.
A typical marine fender system is made up of three major components working together:
- Marine rubber fender: It absorbs berthing energy and cushions impact as a vessel draws alongside.
- Steel fender panel: Spreads the contact load over a broader area to reduce the concentrated stress on the fender and hull.
- UHMW-PE fender pad: Attached to the face of the steel panel, this pad presents a low-friction, wear-resistant surface which protects the hull of the vessel and lowers sliding resistance during contact.
The UHMW-PE pad is not a substitute for the rubber fender. It is a facing material and is used to increase the surface performance of the panel. Due to its excellent abrasion resistance, low coefficient of friction, high impact strength and good resistance to repeated loading, ultra-high-molecular-weight polyethylene (UHMW-PE) is well suited to this application.
Common Fixing Methods for UHMW-PE Fender Pads
The way a UHMW-PE fender pad is fastened to the steel panel will influence the ease of installation, inspection and ultimately replacement. In fact, Several fixing approaches are commonly used, depending on the panel design and access conditions.
- Bolted fixing: The pad is bolted directly to the steel panel using pre-drilled holes. This is the most typical method as it allows for easy replacement later on. Bolt heads shall be recessed or flush with the face of contact and the hole pattern, countersink depth and bolt size shall all correspond to the pad thickness and panel design.
- Welded studs and nuts: Studs are welded to the steel panel, and the pad is secured with nuts from the front. The nuts should be recessed into the pad so they do not protrude into the vessel contact surface.
- Blind nuts or welded bosses: A threaded insert or welded boss can be incorporated into the panel when the rear side is difficult to access. This allows the pad to be secured from the front.
| Fixing Method | Main Advantage | Main Consideration | Typical Use |
| Bolted fixing | Easy inspection and replacement | Bolt head clearance | General fender panels |
| Welded studs + nuts | Convenient factory assembly | Stud alignment and access | Pre-assembled panels |
| Blind nuts/bosses | Allows front-side installation | Correct thread and boss design | Closed or box-type panels |
What Should Be Considered When Designing the Pad?
Choosing the correct fixing method is only half the story. Before you start installing, the pad itself must be appropriately sized and configured.
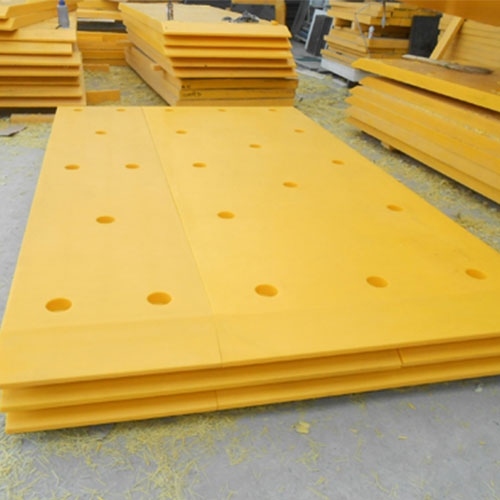
Pad thickness is often oversimplified. Thicker is not always better. The pad needs enough material to provide adequate wear life while also leaving sufficient thickness around the fixing holes. The following criteria should be checked: predicted wear and service conditions, pad overall dimensions, fastener or nut thickness, countersink depth and amount of UHMW-PE material remaining around each fixing point.
Thermal movement is something that doesn’t get enough attention. UHMW-PE expands much more than steel with changes in temperature. For larger pads, this difference needs to be accommodated through appropriate fixing arrangements or clearance. Without it, the pad can become stressed or distorted over time.
Contact surface quality also matters. Fixing heads should sit flush or slightly below the contact face. Excessive countersinking reduces the effective wear thickness, so the recess should be only as deep as necessary. Pad edges should also be properly finished to reduce the risk of damage during vessel contact.
| Design Factor | Why It Matters |
| Pad size | Larger pads may need more controlled fixing and thermal movement allowance |
| Pad thickness | Must provide wear allowance and sufficient material around fixings |
| Fixing spacing | Affects how securely the pad stays in position against the panel |
| Fastener type | Determines installation, inspection, and replacement requirements |
| Panel condition | A flat, sound panel provides a more reliable base for the pad |
| Maintenance access | Important when pads need future replacement on site |
How to Install UHMW-PE Fender Pads?
With the design in order, here is a straightforward approach to the installation process itself.
Step 1: Check the fender panel
Confirm panel dimensions, flatness, and fixing-hole locations. Clean off rust, dirt, and debris from the installation surface. The panel should be in sound condition before the pad goes on.
Step 2: Confirm the pad and hole layout
Check that the pad dimensions and thickness match the drawing. Verify that the bolt holes align correctly with the panel. For larger pads, the fixing layout and clearances may need to accommodate thermal movement. Depending on the pad size and fixing design, elongated holes or other allowances may be required.
Additionally, Holes should be machined in advance from approved drawings where possible, rather than drilled on site.
Step 3: Position the pad
Place the UHMW-PE marine fender pad against the panel and get it properly aligned before tightening anything. Forcing a misaligned pad into position is one of the more common mistakes and can create uneven stress on the fixings.
Step 4: Install and tighten the fixings
Tighten the fixings progressively and evenly across the pad rather than fully tightening one area first. Use the torque specified in the project or fastener design, and avoid excessive tightening that could deform the pad around the holes. Ensure that all fixing heads are flush or recessed.
Step 5: Inspect the finished installation
Check for gaps between the pad and panel, visible deformation, or damaged edges. Make sure all fixings are properly seated and secure.
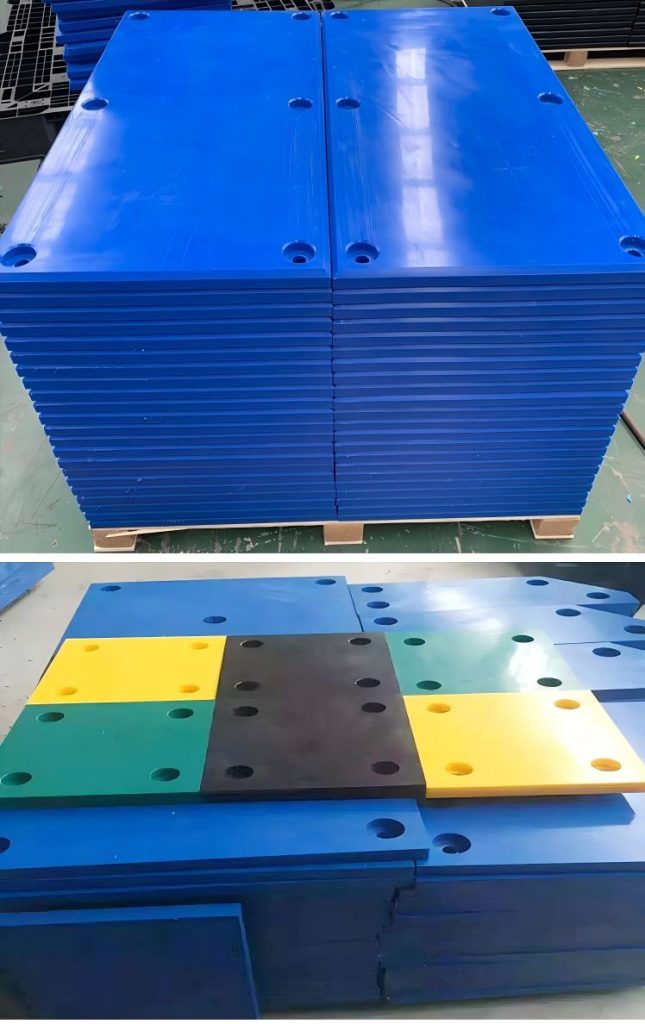
Common Problems When Installing UHMW-PE Fender Pads
Even with good preparation, a few issues come up regularly during UHMW-PE fender pad installation:
- Fixing holes do not align: Usually a measurement or drawing error. Confirm all positions before installation begins.
- Bolt heads protrude from the pad surface: Check countersink depth and make sure the correct fastener type is being used.
- Pad installed too tightly: On larger pads, insufficient clearance for thermal movement can lead to warping over time.
- Insufficient material around fixing holes: A sign that pad thickness or hole geometry was not reviewed carefully enough at the design stage.
- Loose or missing fasteners after service: Fixing points should be checked periodically as part of routine fender maintenance.
Severely worn or cracked pads should be replaced before the condition begins to affect vessel contact performance.
Final Thoughts
A good UHMW-PE fender pad installation is not simply about getting the pad onto the panel. This means considering the whole service life from the choice of fixing technique and pad thickness at the design stage to ensuring correct alignment during fitting and routine inspection thereafter. The reliability of the system over time can be significantly affected by little decisions taken early on, such as the placement of holes or the handling of thermal movement.
If you are sourcing UHMW-PE marine fender pads or need support with fender panel specifications, Boomarine has experience across a wide range of port and marine fender applications. Feel free to contact us to discuss your project requirements.